Creating a website can feel like a daunting task, especially when you’re trying to bring your ideas to life. But with website prototyping, you can turn those concepts into a tangible reality with ease. Whether you’re building a simple blog or a complex e-commerce site, prototyping helps you visualize the final product and smooth out any wrinkles before the actual development begins.
In this guide, we’ll walk you through the basics of website prototyping, why it’s important, and how you can make the process straightforward and effective.
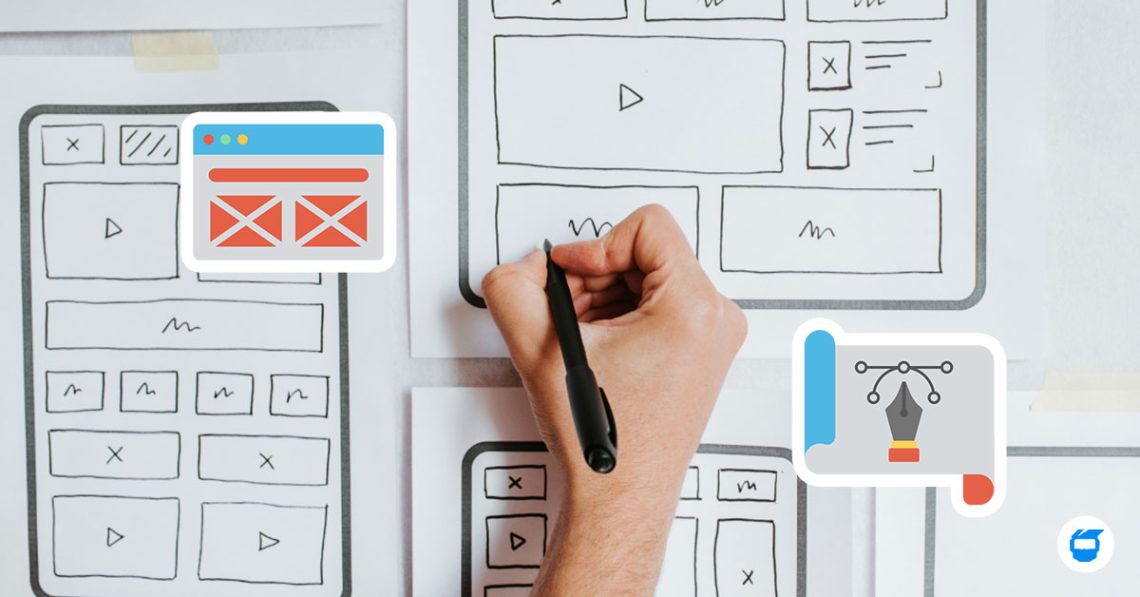
Table of Contents
- What is Website Prototyping?
- Types of Website Prototypes
- Why is Website Prototyping Important?
- Steps to Easy Website Prototyping
- Common Prototyping Mistakes to Avoid
What is Website Prototyping?
Website prototyping is the process of creating an early sample or model of a website to test and validate design concepts. Think of it as a visual draft that outlines the structure, layout, and functionality of your site. A prototype can be as simple as a sketch on paper or as complex as a fully interactive digital model that closely resembles the final website.
Types of Website Prototypes
Understanding the different types of prototypes helps you choose the right one for your project’s needs. There are generally three types of prototypes:
1. Low-Fidelity Prototypes
Low-fidelity prototypes are simple wireframes or sketches that outline the basic layout and structure of a website. They focus on showing the general arrangement of elements without getting into detailed design. Because they’re quick and easy to create, they’re ideal for gathering early feedback and making broad design decisions.
2. Mid-Fidelity Prototypes
Mid-fidelity prototypes offer a step up from low-fidelity models by incorporating more detailed elements. They include essential content, such as text and images, along with navigation components like buttons and links. This additional detail provides a clearer picture of how the website will function and interact with users. Mid-fidelity prototypes are particularly useful for refining the user experience (UX) and making necessary adjustments to design elements before moving on to more advanced prototypes.
3. High-Fidelity Prototypes
High-fidelity prototypes are detailed, near-final versions of your website, which include polished visuals and interactive elements, closely resembling the final product. These prototypes offer a realistic preview of what the finished site will look and feel like. They are ideal for advanced testing and gathering detailed feedback before development begins.
Why is Website Prototyping Important?
Prototyping plays a crucial role in the web design process for several reasons:
1. Clarifies the Vision
Prototyping turns abstract ideas into something concrete. It helps stakeholders and team members understand what the website will look like and how it will function, reducing miscommunication and aligning everyone on the same vision.
2. Saves Time and Resources
By catching design flaws and usability issues early, prototyping saves time and money in the long run. It’s much easier and cheaper to tweak a prototype than to make changes after the website is fully developed.
3. Improves User Experience
Testing a prototype allows you to refine the user journey, ensuring that navigation and interactions are intuitive. This results in a better overall user experience, which is key to keeping visitors engaged with your site.
4. Facilitates Feedback and Collaboration
Prototypes provide a tangible reference point for gathering feedback from users, stakeholders, and team members. This collaborative approach helps fine-tune the design based on actual needs and preferences.
Steps to Easy Website Prototyping
Now that you understand what website prototyping is and why it’s important, let’s look at how to make the process easy and effective.
1. Define Your Goals and Audience
Before you start prototyping, clearly define the purpose of your website and who your target audience is. Are you creating an informational site, an online store, or a portfolio? Understanding your goals and users will guide your design decisions and ensure your prototype meets the right needs.
2. Sketch Out Your Ideas
Begin with simple sketches of your website’s layout. This step doesn’t require any special tools—just grab a pen and paper. Focus on the main pages and key elements like headers, footers, menus, and calls-to-action. Keep it rough and flexible, as this is just the starting point.
3. Choose the Right Prototyping Tool / Software
There are plenty of prototyping tools available for creating digital prototypes, ranging from basic wireframing apps to full-featured design platforms. Some popular options include:
- Figma: Great for collaborative design with interactive elements.
- Sketch: Ideal for Mac users who want powerful design capabilities.
- InVision Studio: Trusted platform, known for its user-friendly interface and interactive prototyping options.
Choose a tool that fits your needs and skill level. If you’re new to prototyping, start with a simple tool and gradually explore more advanced features.
4. Build Your Prototype
Using your chosen tool, start turning your sketches into a digital prototype. Focus on creating a logical flow between pages and ensuring the layout is clean and intuitive. Don’t worry about perfecting every detail—this stage is about getting the structure right.
5. Add Interactivity
Interactivity is what sets prototypes apart from static designs. Add clickable buttons, links, and transitions to simulate how users will navigate your site. This helps test the user flow and identify any potential friction points in the design.
6. Test and Gather Feedback
Once your prototype is ready, test it with real users if possible. This could be team members, stakeholders, or a sample from your target audience. Gather feedback on the design, functionality, and overall user experience. Use this input to refine and improve your prototype.
7. Iterate and Refine
Prototyping is an iterative process. Don’t be afraid to make changes based on feedback. Each round of testing and refinement brings you closer to a polished, user-friendly design.
Common Prototyping Mistakes to Avoid
While prototyping can greatly enhance your design process, there are some common pitfalls to watch out for:
1. Skipping the Planning Phase
Jumping straight into design without clear goals or user insights can lead to wasted time and missed opportunities. Always start with a solid plan.
2. Overcomplicating the Prototype
Remember, a prototype doesn’t need to be perfect. Overloading it with too many details or features can slow down the process and overwhelm stakeholders. Keep it simple and focused on the main elements.
3. Ignoring User Feedback
The purpose of prototyping is to test and validate your design. Ignoring feedback or failing to test with real users defeats this purpose. Be open to criticism and use it to improve your design.
Website prototyping is a powerful tool that transforms abstract ideas into tangible designs. With the right approach and tools, anyone can master website prototyping. So, grab that sketchpad, pick a prototyping tool, and start turning your concepts into reality!
Looking for a web design company for your business? Contact us today, and we’ll be glad to assist you!


 Shopify Website Design
  Small Business Marketing